There’s something special about this time of year—the crisp winter air, the scent of citrus filling the kitchen, and the satisfying pop of a freshly sealed jar. Yes, it’s marmalade-making season! Whether you’re a seasoned pro or trying your hand at homemade preserves for the first time, there’s nothing quite like the rich, bittersweet taste of a perfectly made marmalade. But we all know it can be a bit tricky to get just right. That’s why we’ve put together our top tips to help you achieve that perfect set, shine, and flavour.

Close up photograph of orange marmalade in glass jar. Sliced orange out of focus but visible in the background.

Choose Your Oranges

Seville oranges are the gold standard for marmalade making. Their intensely aromatic zest and natural bitterness create that classic, well-balanced flavour that we all love. Since they have a short season (usually January and February), it’s worth grabbing them while you can! If you miss out, you could try a mix of sweet oranges and lemons for a slightly different but equally delicious result. If you are including shredded peel in your marmalade we’d highly recommend that you lightly scrub the skins of your fruit under running water.

Get Equipped

Before you start, you’ll need to make sure you have all of the equipment you need.  

Close up of orange segments, a glass jar , sugar thermometer and maslin pan on a kitchen worktop.

  1. Probably the most important piece of marmalade making equipment you’ll need is a maslin pan.  These specially designed pans have a heavy construction at the bottom that helps to efficiently distribute the heat so that the marmalade or jam boils evenly.  These pans also have wide, deep sides that not only prevent the hot liquid from splashing but enable even evaporation.
  2. Muslin squares are useful for many different marmalade recipes as they help to strain the pips and peel out.  You can tie it securely with a kitchen string or a thick rubber band.
  3. A sugar thermometer is a must, particularly if you’ve never made marmalade before.  There are other ways to check the progress of your marmalade such as the wrinkle or flake test, but a specially designed sugar thermometer will give the most accurate decision that the setting point of 104.5˚C has been reached.  
  4. Jam jars - you will need a selection of these to store your homemade preserve in.  We think the Le Parfait jars are great. Your chosen jars must have tight fitting lids and it’s important to sterilise and pot the jam correctly.
  5. You may find a stainless steel, wide-necked jam funnel helpful when it comes to potting your marmalade into jars.  Although it isn’t essential it may help to reduce a messy and sticky situation.  

Know Your Pectin

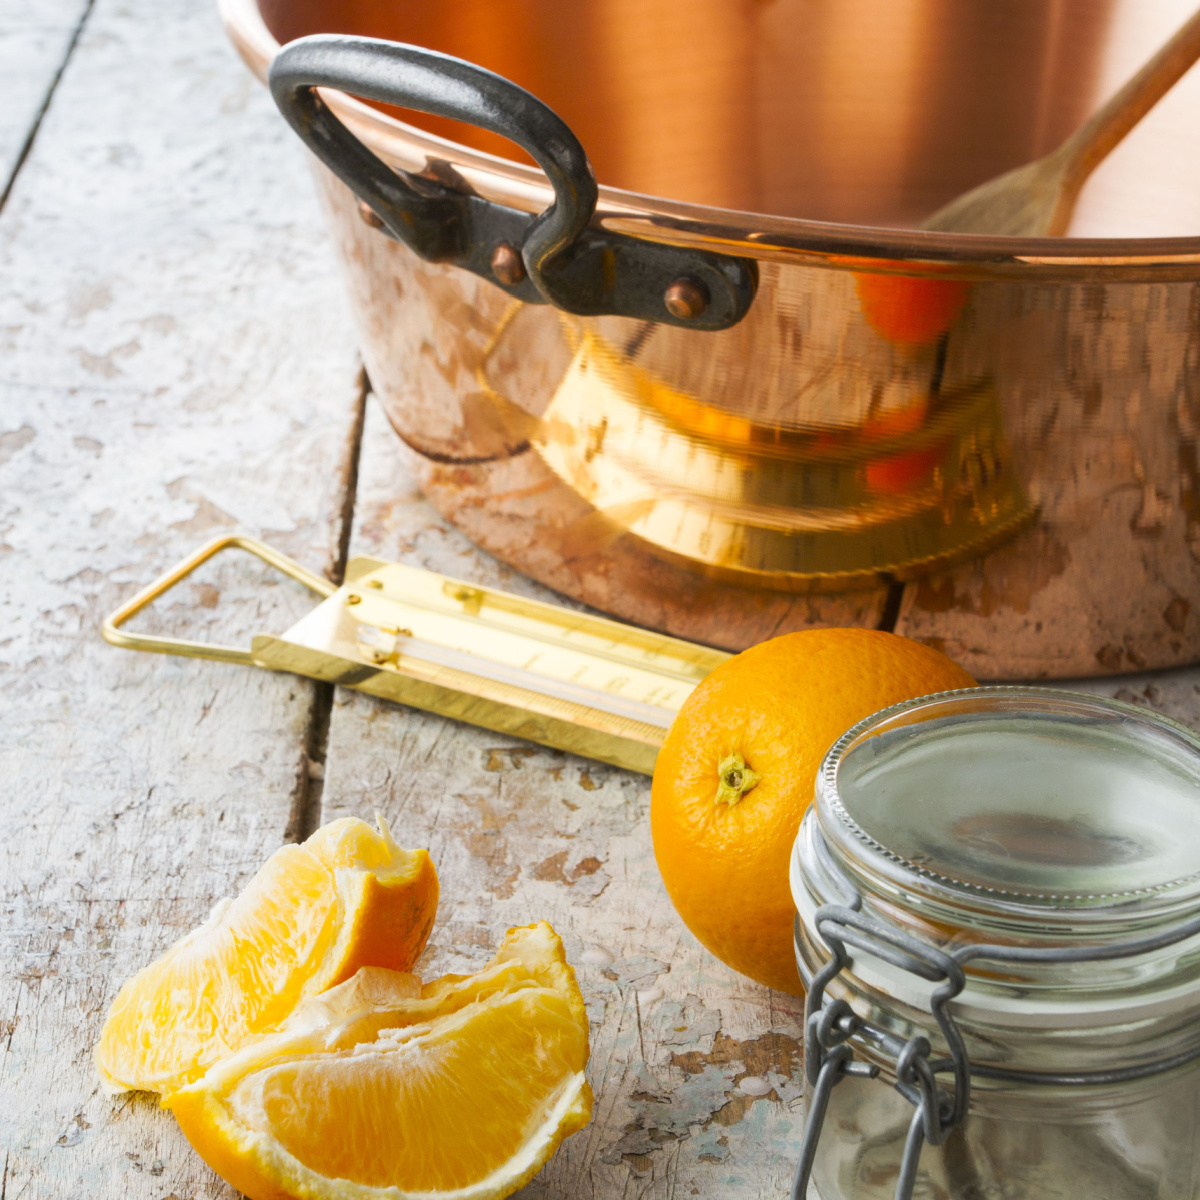
Pectin occurs naturally in fruit and it is this pectin that helps marmalade to set. Different types of fruit contain varying levels of pectin, for example Seville oranges are very rich in pectin. If you are using Seville oranges to make your marmalade, it’s a good idea to collect the peel and pips as they are incredibly rich in it. They can then be simmered, in a muslin pouch, with your shredded peel before you add the sugar which will help to release all of the pectin into your marmalade to ensure a great set.

Shred

Everyone has their own preference, but whether you choose thin, medium or thick cut peel for your marmalade make sure that you keep it consistent.  Uniformly cut shreds will produce the best results but it can take time to slice them evenly.  The peel will need to be really soft before you add the sugar because once it has been added, the peel will not soften anymore.  Your recipe may state that an overnight soak is necessary for this reason.   

Closeup of housewife making orange jam in decorated kitchen

Getting The Sugar Right

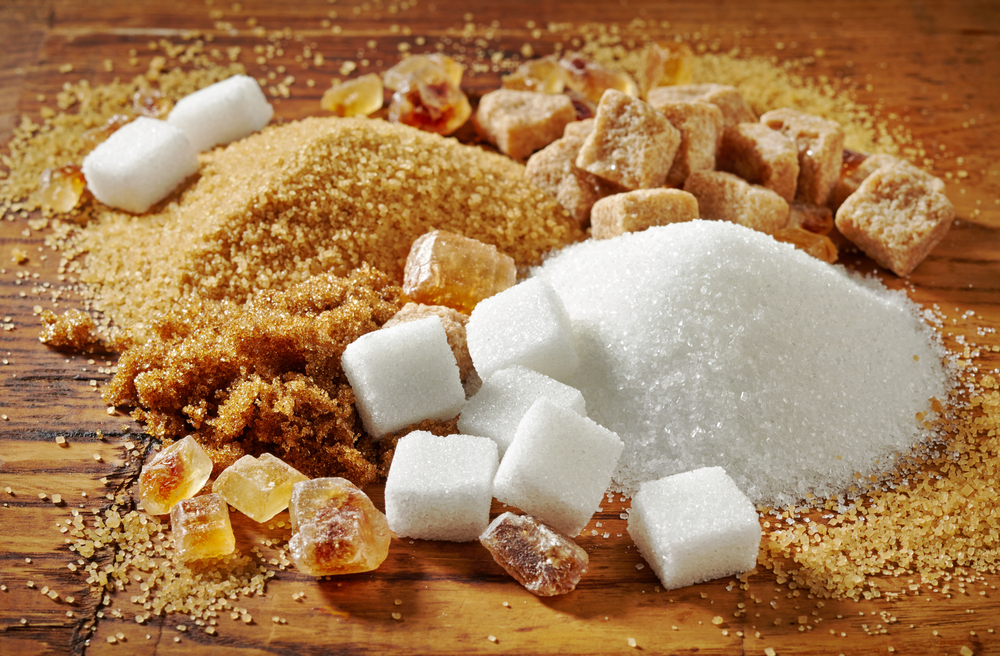
Sugar does more than just sweeten your marmalade—it’s essential for achieving that perfect set. Traditional recipes use a 1:1 ratio of fruit to sugar, which helps the marmalade gel properly.

If you prefer a slightly less sweet version, you can reduce the sugar, but keep in mind that this may result in a softer set. If you're looking for a firmer, more traditional texture, stick to the classic proportions.

Types Of Sugar:

  • Caster sugar is the one to avoid. The crystals are too fine, which is great for baking but they will dissolve too quickly when making marmalade.
  • Granulated sugar is a good choice. The large crystals will dissolve quickly and cleanly, resulting in a clear, amber liquid that best shows off your perfectly floating peel. The difference between white granulated and the unrefined golden granulated is taste. White granulated sugar makes a brighter marmalade, whereas golden creates a richer coloured preserve and offers a delicious, caramel flavour.
  • Dark brown sugar or even treacle which will add depth and darkness however, you should proceed with caution and only use them if called for in your recipe or you are more confident and experienced with marmalade making.
  • Preserving sugar is specifically for preserve making. It has much larger crystals than granulated sugar which allows for a slower dissolve, meaning less stirring and skimming. Preserving sugar creates less froth resulting in a clearer preserve.
  • Jam sugar contains added pectin. Due to the high, naturally occurring levels of pectin in the fruit, jam sugar is usually unnecessary for Seville orange marmalade. It could be a good option if you are using different fruit, such as juicing oranges, to provide a higher pectin level and aid setting.

Close up of different types of sugars, poured loose on a wooden board.

Sterilise Your Jars

It’s important to sterilise your jars and equipment to avoid contamination and prevent the risk of mould growth.  Jars, lids and rubber jar rings can be washed in hot soapy water, rinsed and then the jars and lids can be placed in a roasting tin to be heat sterilised in the oven for 20 minutes at 140°C (120°C fan) gas 1. 

To keep your utensils as clean as possible, sterilise them in a large pan of water and bring to a low boil.  Dip metal tongs into boiling water to sterilise them as well before removing utensils and allowing them to cool briefly in the air before using.

Three glass cans sterilising in boiling water. Preparations for preservation.

Achieving The Perfect Set

When all the sugar has dissolved and you have a clear syrup the temperature should be increased to encourage a rolling boil that will bubble well. The boiling stage will allow the pectin, sugar and acidic fruit to work together to make the marmalade set. 

One of the trickiest parts of marmalade-making is knowing when it's ready. The secret? The Wrinkle Test.

The Wrinkle Test

  • Using a spoon, transfer some of the boiling preserve from the pan to a cold saucer or plate, which has been chilled in a fridge.
  • Allow the marmalade to cool then push it using your finger. If the preserve has reached setting point then it will wrinkle. If you only see a very slight wrinkle, the setting point has not been reached so return the pan to the heat and continue to boil for another 1-2 minutes and then repeat the testing process.

Another way to test if your marmalade has reached the setting point is the flake test. 

The Flake Test

  • Use a clean wooden spoon, stir it around in the preserve until the head of the spoon is completely coated. Hold the spoon away from the pan and allow it to cool slightly then with the spoon vertical hold it back over the pan. If the setting point has been reached the preserve will slide down the head of the spoon and hang off the end but it will not drip unless you shake it.
  • If the preserve runs straight off the spoon then it has not reached the setting point so return it to the heat and boil for a further 1-2 minutes and then repeat.
  • It is important to only use a clean wooden spoon, not one you have previously used to stir your marmalade.

Sugar Thermometer

  • Keeping your pan on the heat, put the thermometer into the marmalade and move it around through the preserve, this will make sure that you get an accurate, overall reading of the temperature. 
  • Remove the pan from the heat and read the temperature.
  • The setting point temperature of marmalade is between 104 degrees and 105.5 degrees C.
  • Once you have finished reading the temperature, place the thermometer on a heat proof surface to cool down.

Top Tip: Don't Overcook It. Remove your pan from the heat whilst you carry out the test. Leaving it to boil, could risk boiling away the water content leaving you with a dark, thick and rubbery marmalade.

Perfect Potting

Allowing your marmalade to cool a little and relax before potting helps the marmalade to thicken slightly so that the peel remains evenly distributed and doesn’t rise to the top. The marmalade should be kept at temperatures above 85 C to kill any mould spores, and once potted, put the lids on as soon as possible to create a vacuum.

Sterilised jars can be filled whilst still hot and keeping them in the roasting tray ensures any drips are easily cleaned up. Fill your jars as full as possible, air left in the jars could lead to contamination. 

Homemade jars of marmalade. Beautifully packaged jam for a gift.

Wax discs aren’t necessary if your lids are really tight. But, many people still like to use them. In which case, add wax discs shiny side down, to the surface of the marmalade to create a seal and secure the lid while hot. Once cool, tighten the lids again and clean any residue from the outside of the jars with a warm wet cloth. If labelling with sticky labels, wait until the jars are cold before applying them otherwise they could just peel or slip off. 

Shelf Life

  • Unopened jars can last up to a year.
  • Once opened, keep in the fridge and use within a few months.

Troubleshooting Common Marmalade Problems

Even the best marmalade makers run into a few hiccups. Here’s how to fix the most common issues:

  • Too Runny? It may not have reached the right temperature. Try reboiling for a few minutes and retesting the set.
  • Too Bitter? Seville oranges are naturally bitter, but removing excess pith before cooking can help. Adding a little extra sugar can also balance the flavour.
  • Cloudy Marmalade? Stirring too much after the sugar dissolves can cause crystallization. Stir gently and avoid over-agitating once the mixture is boiling.
  • Too Thick? This usually happens if it's overcooked. You can try loosening it with a bit of warm water or citrus juice.

Delicious Marmalade Variations

Once you’ve mastered a classic batch, why not experiment with some fun variations? Here are a few of our favourite ideas to put your own twist on tradition:

  • Whisky Marmalade – Stir in a splash of whisky at the end of cooking for a rich, boozy depth of flavour.
  • Ginger-Infused Marmalade – Add a few thin slices of fresh ginger while boiling the oranges for a warm, spicy kick.
  • Blood Orange Marmalade – Swap in some blood oranges for a stunning red hue and a slightly sweeter, berry-like flavour.
  • Vanilla Citrus Marmalade – A split vanilla pod added during simmering gives a subtle, fragrant sweetness.

Bringing It All Together

Homemade marmalade isn’t just delicious—it’s a little jar of sunshine to brighten up your mornings. Whether you’re spreading it on toast, gifting it to a friend, or just enjoying the process of making something from scratch, we hope these tips help you get the perfect result.
Why not take a look at our complete collection of marmalade making products for everything you need to get started.

Sources:
https://www.kilnerjar.co.uk/setting-points
ttps://www.goodhousekeeping.com/uk/food/a552503/the-10-golden-rules-for-marmalade-making/https://www.bbcgoodfood.com/howto/guide/top-10-tips-making-marmalade